

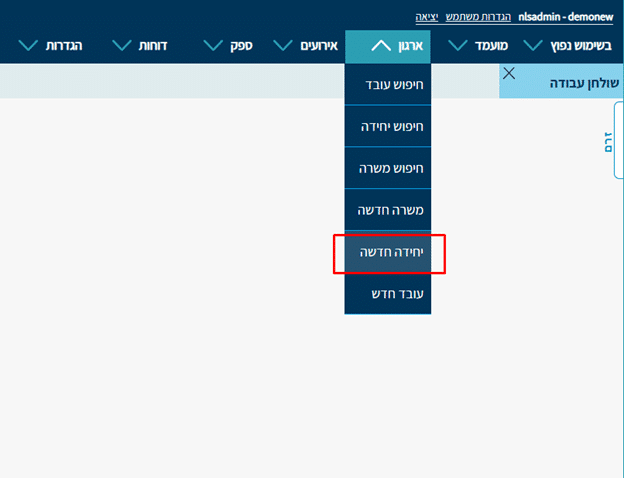
1. From the top menu, go to Organization – New Unit
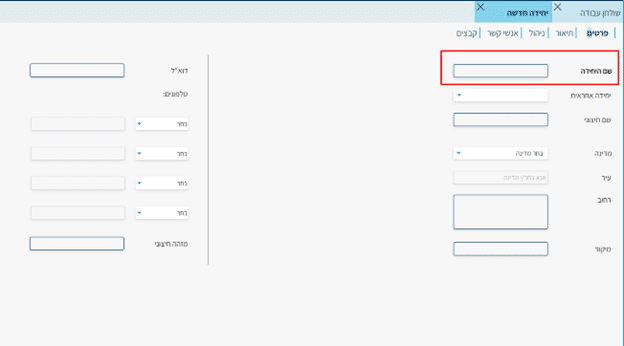
2. Details Tab
- Unit Name – required field: you must define the unit name — for example, “Marketing Department”.
- External Name: an additional name for the unit
- Responsible Unit: if you want to place the new unit as a sub-unit under another unit.
- The remaining details — address, email, and phone numbers — can be filled in as needed.
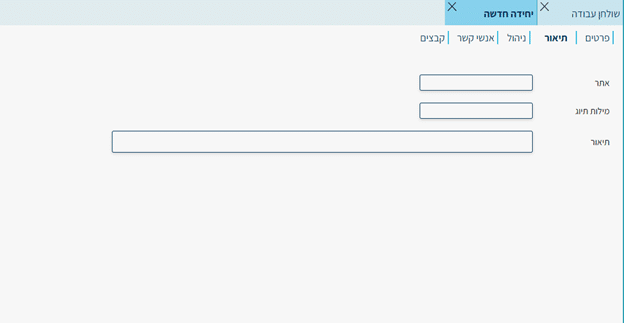
3. Description Tab
You can add text details about the unit and its website, if applicable.
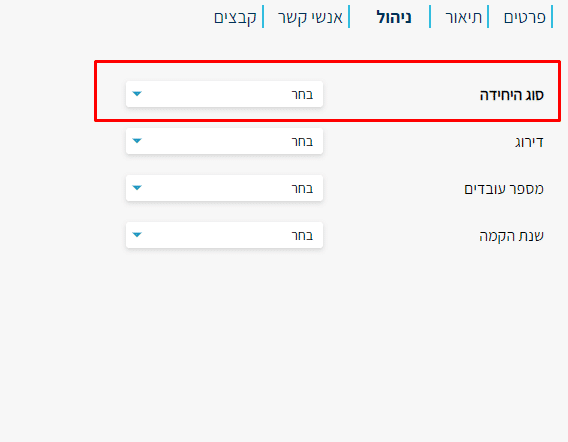
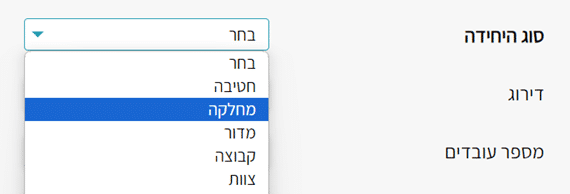
4. Management Tab
- Unit Type – required field: if the list doesn’t match your company’s settings, you can edit all lists through the Settings (see separate guide).
- You can fill in the unit’s rating, number of employees, and founding year for documentation purposes.
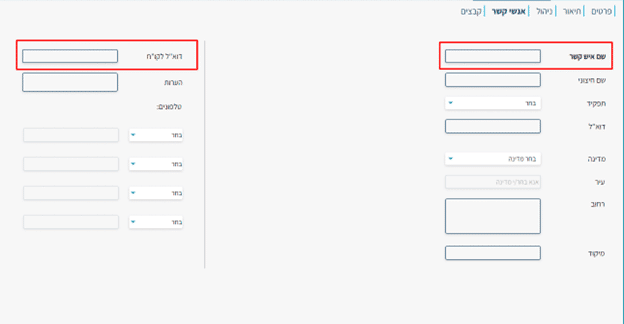
5. Contacts Tab
- Contact Name – required field: it’s important to note that this refers to a contact within the unit itself / hiring manager — not the recruiter from the HR department.
- Email for CVs: it’s recommended to define this if you want to proactively send CVs to that contact through the system. If there is no relevant contact, enter a placeholder so the system allows you to create the unit.
- You can fill in the remaining details such as role (from the list), email, address, phone, and notes.
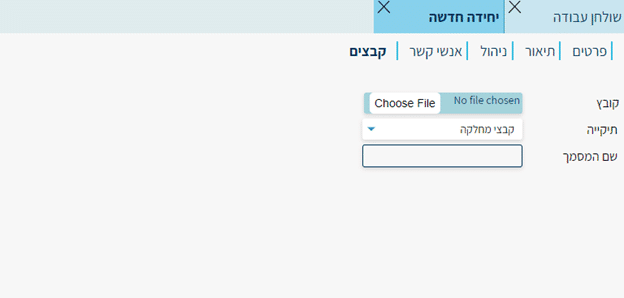
6. Files
You can add files relevant to that unit.
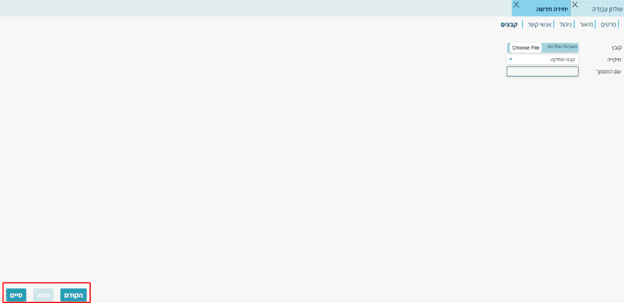
7. After filling in and verifying the details, click the “Finish” button to create the unit.
You can navigate between tabs using the “Next” or “Previous” buttons.
- It’s important to fill in all required parameters accurately when creating a unit.
- If a required field is missing, the system will not allow you to create the unit and will highlight the relevant field.
- After setting up the units in your system, you should create positions and employees using the relevant articles.
- You can define sub-units — a parent unit and the unit beneath it, according to the organizational tree. In this case, each unit still stands on its own with its positions, contacts, and data.
- After creation, you can view the unit card. Each unit will have its own positions and contacts, and this is how we as recruitment managers create order and separation in the system.
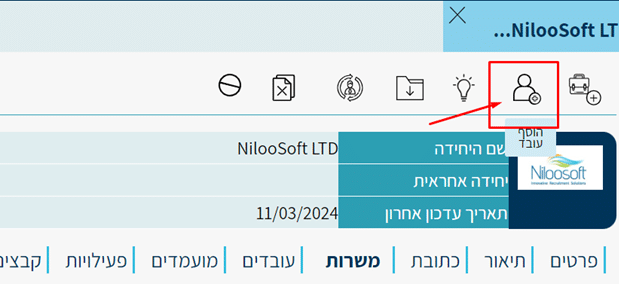
- After creating the unit, if there are additional contacts relevant to the recruitment process, you can and are encouraged to add them after creation by clicking this icon:
Example of a unit created in the system:
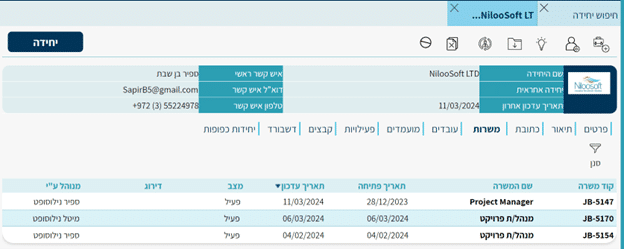
All the data you entered to create the unit will appear in the unit card.
We invite you to read the orientation article, where you can learn about all the tabs and tools available to you in the unit card. For more information, click here.