

What Is the Candidate Hunter?
The Candidate Hunter is one of the most central and powerful tools in your recruitment system – so essential that the name Hunter AI is based on it.
The Hunter enables smart, fast, and precise candidate search from a large resume database, using search based on keywords and phrases from candidates’ resumes.
At the core of the Hunter is a powerful AI engine for intelligent resume analysis combined with an advanced semantic morphological dictionary that can identify various word forms and inflections.
What does this mean in practice? The dictionary recognizes that different words are essentially the same thing. For example, if you search for “manager,” the system will also find candidates who wrote “management,” “managed,” or “managers” – because these are all inflections (different grammatical forms) of the same root. This way, even if candidates phrased their experience differently, the system will find them.
What Is the Principle Behind the Candidate Hunter?
The idea is simple: instead of manually reviewing hundreds or thousands of resumes, the system finds the best candidates for you.
With the Hunter you can:
- Search by keywords or relevant phrases (by experience, education, notes, or location)
- Filter by years of experience, last position, age, and more
- Save the search for future use – as a saved or automatic hunter
Key Concepts Before You Start
The Candidate Hunter can be used in two main modes:
Job-Linked Hunter
Build a search aimed at finding candidates for a specific job opening. The candidates found will be naturally linked to that job.
Open Hunter
Create a free search without linking to a specific job – useful for building a general talent pool or searching across all candidates.
1. How to Access the Candidate Hunter
You can access the Hunter in two ways:
Through the Main Menu
On the right side of the screen is the main menu. Click “Frequently Used” and then “Candidate Hunter”.

Screen description: In the right-side menu, under “Frequently Used,” “Candidate Hunter” appears as the first option.
Through the Hunters Area on the Dashboard
On the main screen there is a Hunters Area – a table showing saved hunters. To create a new hunter, click “New Hunter” – the blue button with + in the upper right corner of the Hunters area.
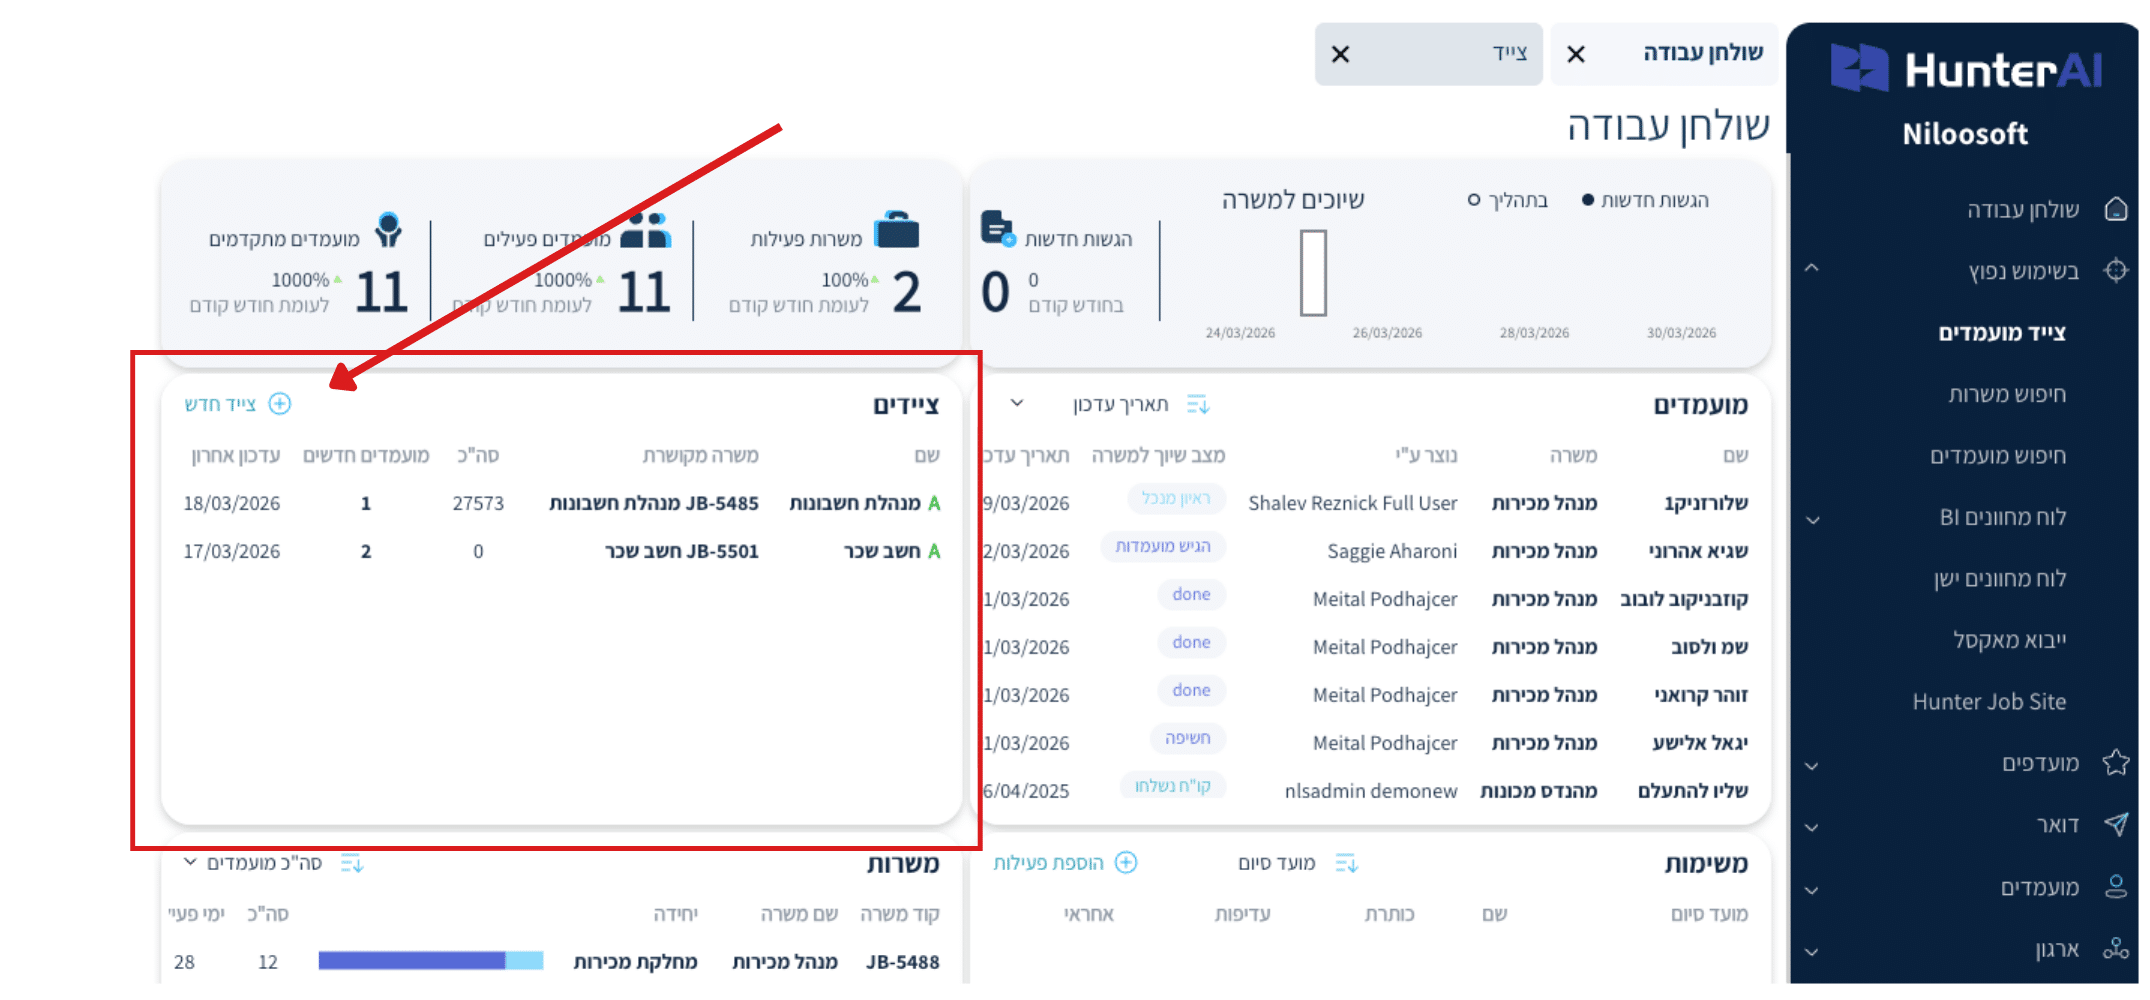
Screen description: On the dashboard, in the Hunters area, in the upper left corner – a “New Hunter” button in blue with +.
2. The Hunter Screen – Structure and Search Fields
When the Hunter screen opens, you will see a search form divided into categories: Experience, Skills, Education, Notes, Location, and Activity. Each category has a field for entering keywords and a dropdown to select the search logic. At the bottom – a “Search” button.
You can enter multiple keywords in each field, separated by spaces or commas.
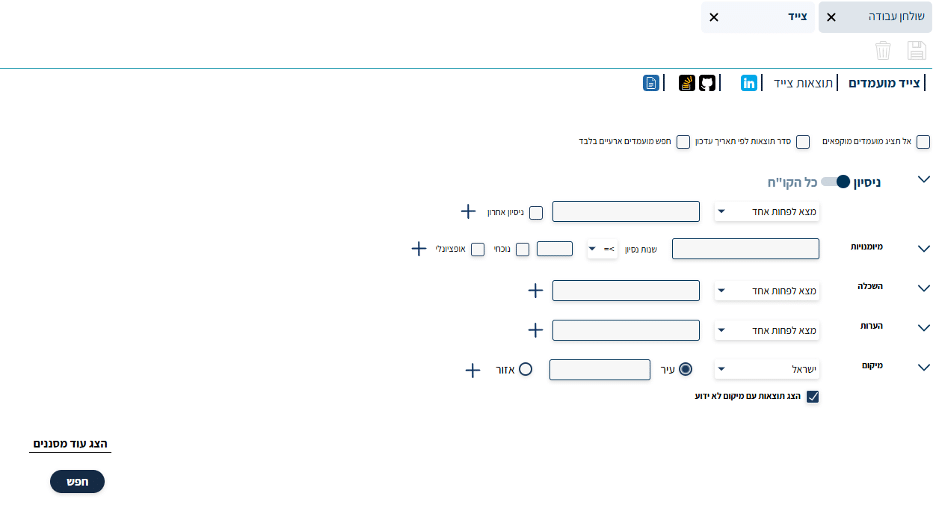
Screen description: The hunter form with search categories: Experience, Skills, Education, Notes, Location, and Activity. Each category has a text field and a dropdown for search logic.
Special Search Symbols
You can separate search keywords using a space or a comma. In addition, you can use special symbols to improve search accuracy:
Quotation Marks (” “) – Exact Phrase Search
When you want to search for a phrase of two or more words, wrap them in quotation marks. This tells the system to search for the exact phrase, not each word separately.
Example: “electrical engineer” → finds only candidates who wrote this exact phrase.

Screen description: In the search field, “electrical engineering” and “certified electrician” are entered with “Find at least one” logic.
Dollar Sign ($) – Fix a Word Without Inflections
As explained, a regular search also finds inflections (different forms of a word). If you want an exact word only, add a $ sign at the end of the word.
Example: manager$ → will find only “manager.” Not “management,” not “managers,” not “managed.”
Note: The $ sign applies only to the word it is attached to.

Screen description: Search field with the expression “manager$sales” – the $ sign is attached to the end of the word “manager” to fix it without inflections.
Search Logic: Find At Least One, Find All, Must Not Contain
Next to each search field there is a dropdown to select the search logic. The three options:
Find At Least One (default)
The system will search for candidates who have at least one of the phrases you entered.
Example: searching “Python, Java, C#” → candidates who know Python or Java or C#.
When to use: when any one of the skills or terms is sufficient.
Find All
The system will return only candidates who have all the phrases.
Example: “Python, SQL” → only candidates with both Python and SQL.
When to use: when the candidate must have all the skills – for example a role that requires both programming and databases.
Must Not Contain
The system will filter out candidates who have the phrases you entered.
Example: “student” → will remove from results candidates who wrote “student.”
When to use: when you want to filter out those who don’t fit – for example removing students or candidates from a specific company.
Searching by Last Experience and Years of Experience
In the “Experience” category of the Hunter, there are two additional tools that help narrow the search:
Last Experience
Check the “Last Experience” box to search only in the candidate’s most recent workplace (not their entire work history).
Example: searching “software development” with “Last Experience” checked → will return only candidates whose current or most recent job involves software development.
Screen description: The experience row in the Hunter with the “Last Experience” checkbox checked, limiting the search to the candidate’s last position only.
Years of Experience
In the second row of the “Experience” category there is a “Years of Experience” field. Enter a number of years and choose an operator (for example >= meaning 5 years or more).
Example: “software development” + years of experience >= 5 → candidates with 5 or more years in software development.
Note: Years of Experience works alongside the keywords – it does not stand alone.
Screen description: Skills category – field, operator (>=), years field, and “Current” checkbox checked for precise filtering.
3. Saving the Hunter
After clicking “Search” and getting results, save the hunter by clicking the disk icon at the top of the screen.
💡 Tip: Prefer to have the AI build the hunter for you? Read: How to Build an Automatic Candidate Hunter Using AI in the Hunter AI System
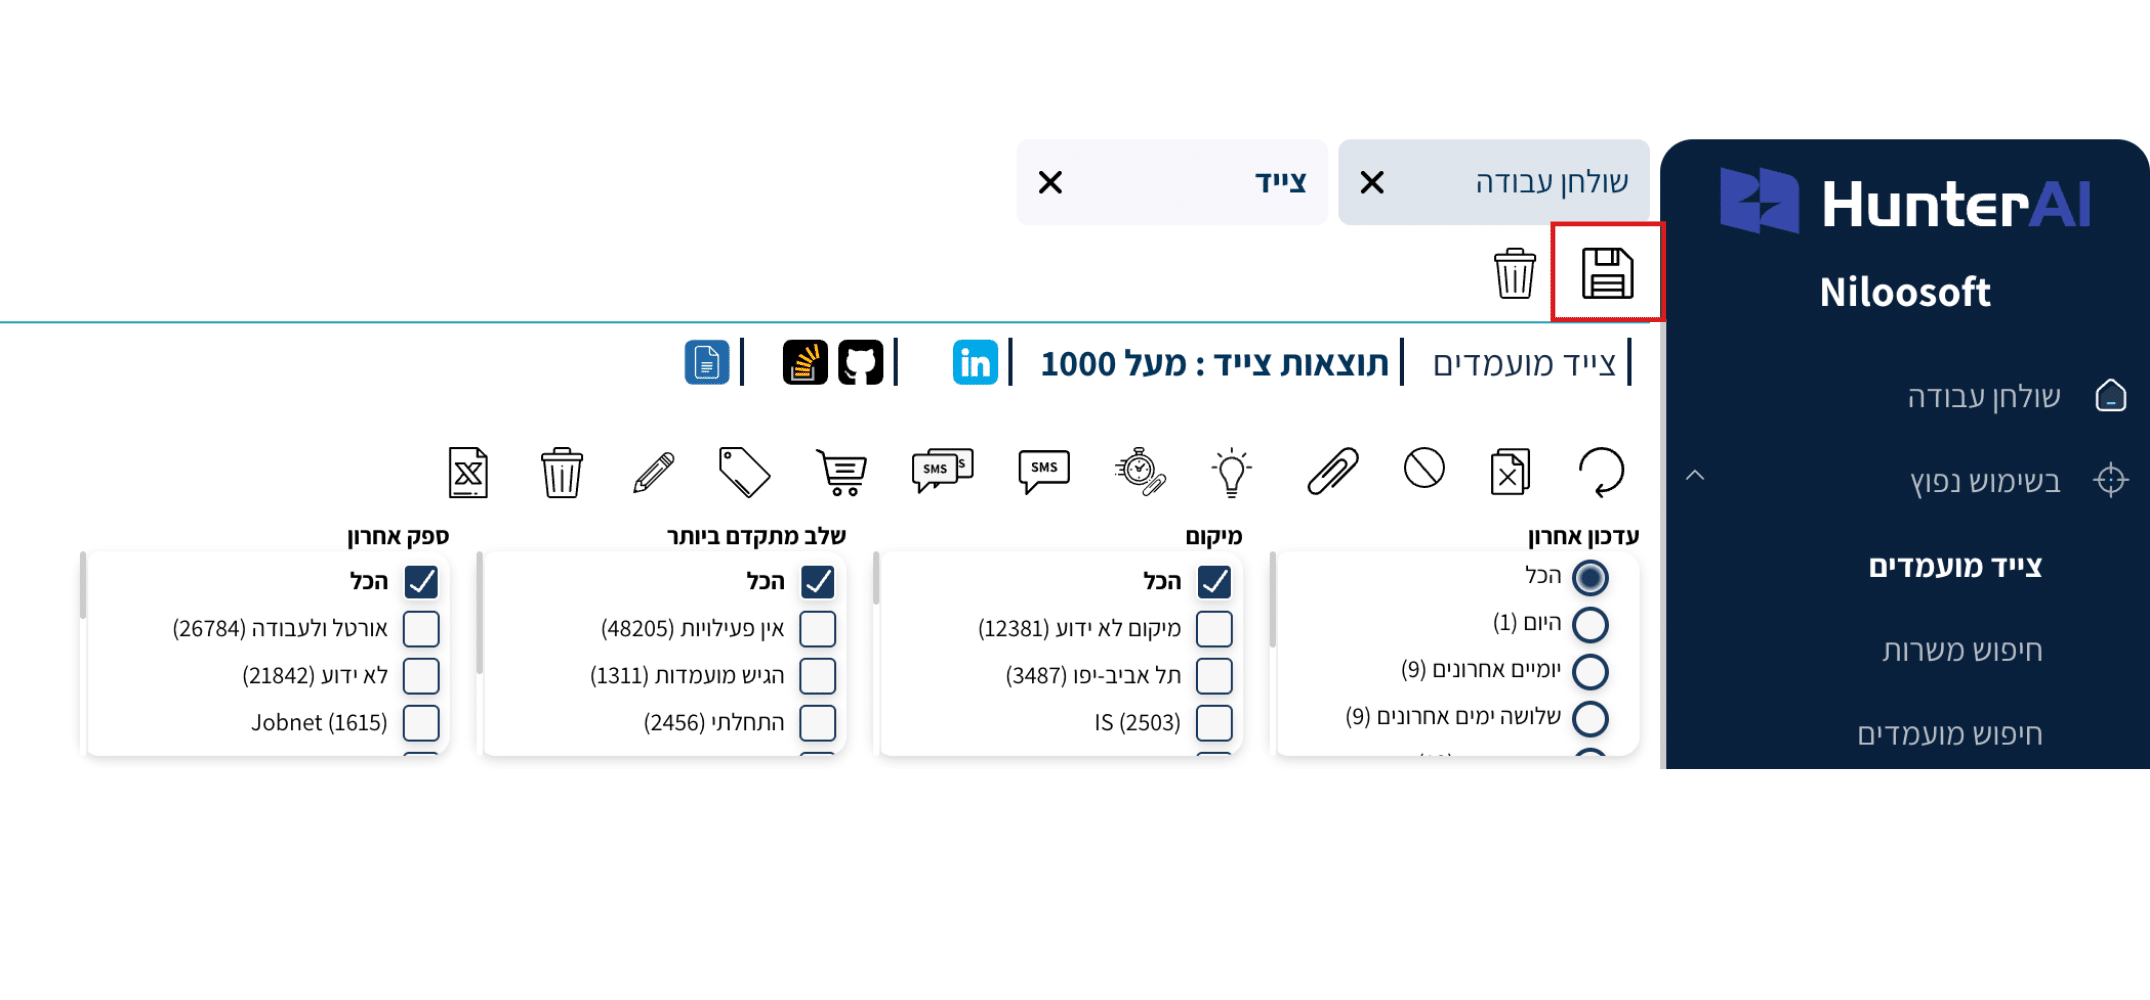
Screen description: At the top of the Hunter screen, on the right, a disk icon (save) and a trash icon (delete) appear.
The system has three types of hunters:
Temporary Hunters – Not saved. When you close the screen, the hunter disappears.
Saved Hunters (S) – Save the search results up to that moment. To update – you need to search again.
Automatic Hunters (A) – Run automatically on a schedule and update results continuously. Candidates who match the search criteria will appear in the results automatically.
4. Additional Settings When Saving the Hunter
When saving the hunter you can set:
Hunter Name – To easily identify it in the hunters list.
Job Assignment – Choose a job opening to link to this hunter.
Statuses – Choose which candidate statuses will appear in the results.
Automatic Hunter – Check this box to make the hunter run automatically and update continuously.

Screen description: Hunter save window with name field, job selection dropdown, and “Automatic Hunter” checkbox.
Using the Smart AI Agent
You can activate a Smart Agent for the hunter.
The agent can send automatic emails at times you define, with information about:
- Candidates who match the hunter
- New candidates who entered the database and match the search
If you have an AI Assistant license, the agent will also present a matching score for each candidate.

Screen description: Hunter save window with AI Agent setting option, allowing you to configure the Smart Agent frequency and scheduled sending time.
Finally, click Confirm – and the hunter will be added to the Hunters area on the dashboard.
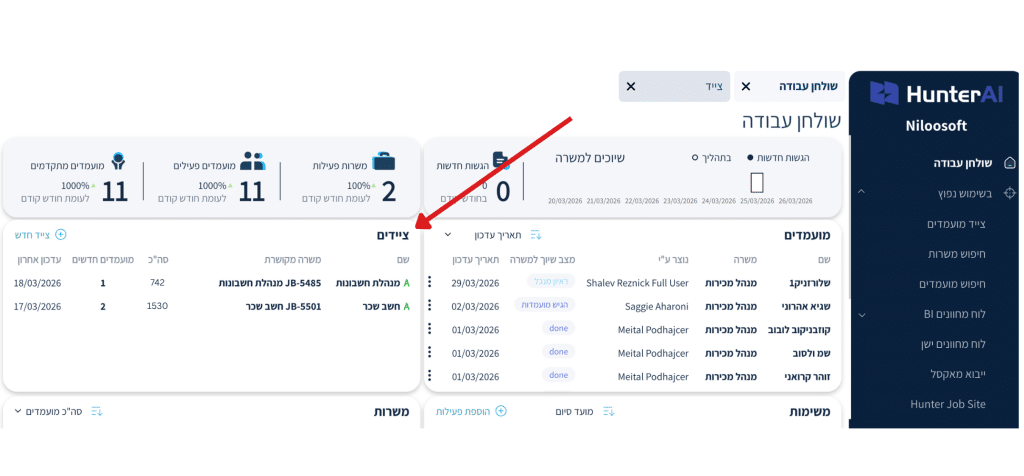
Screen description: The dashboard screen with an arrow pointing to the Hunters area where the new hunter we created will be added.
Frequently Asked Questions
What is the difference between “Find At Least One” and “Find All”?
“Find At Least One” returns candidates who have at least one word from the list (OR). “Find All” returns only candidates who have all the words (AND). In most cases “Find At Least One” gives broader results – use “Find All” when you need all skills to be present.
Can I combine different search logics in one hunter?
Yes. Each category (Experience, Skills, Education, etc.) has its own logic selection. You can set “Find All” for Experience and “Find At Least One” for Skills in the same hunter.
Why does a search for “manager” also return “management”?
The Hunter uses a morphological dictionary that recognizes word inflections. To search for an exact word only, add $ at the end: manager$
Summary
In this article we got to know the Candidate Hunter and learned:
- How to open the hunter (main menu or Hunters area on the dashboard)
- How to choose search logic: “Find At Least One,” “Find All,” and “Must Not Contain”
- How to search by Last Experience and Years of Experience
- How to use special symbols: quotation marks for exact phrases and $ to fix a word
- How to save a hunter – temporary, saved, or automatic
- How to configure the Smart AI Agent